
Sdkfz. 222 in North Africa- Part 1: The 222

Hello, and welcome back to another entry in this ongoing documentation of scale modelling. Today's subject is Tamiya's Sdkfz. 222, which I have portrayed as a member of a recon unit operating in North Africa in early 1942.

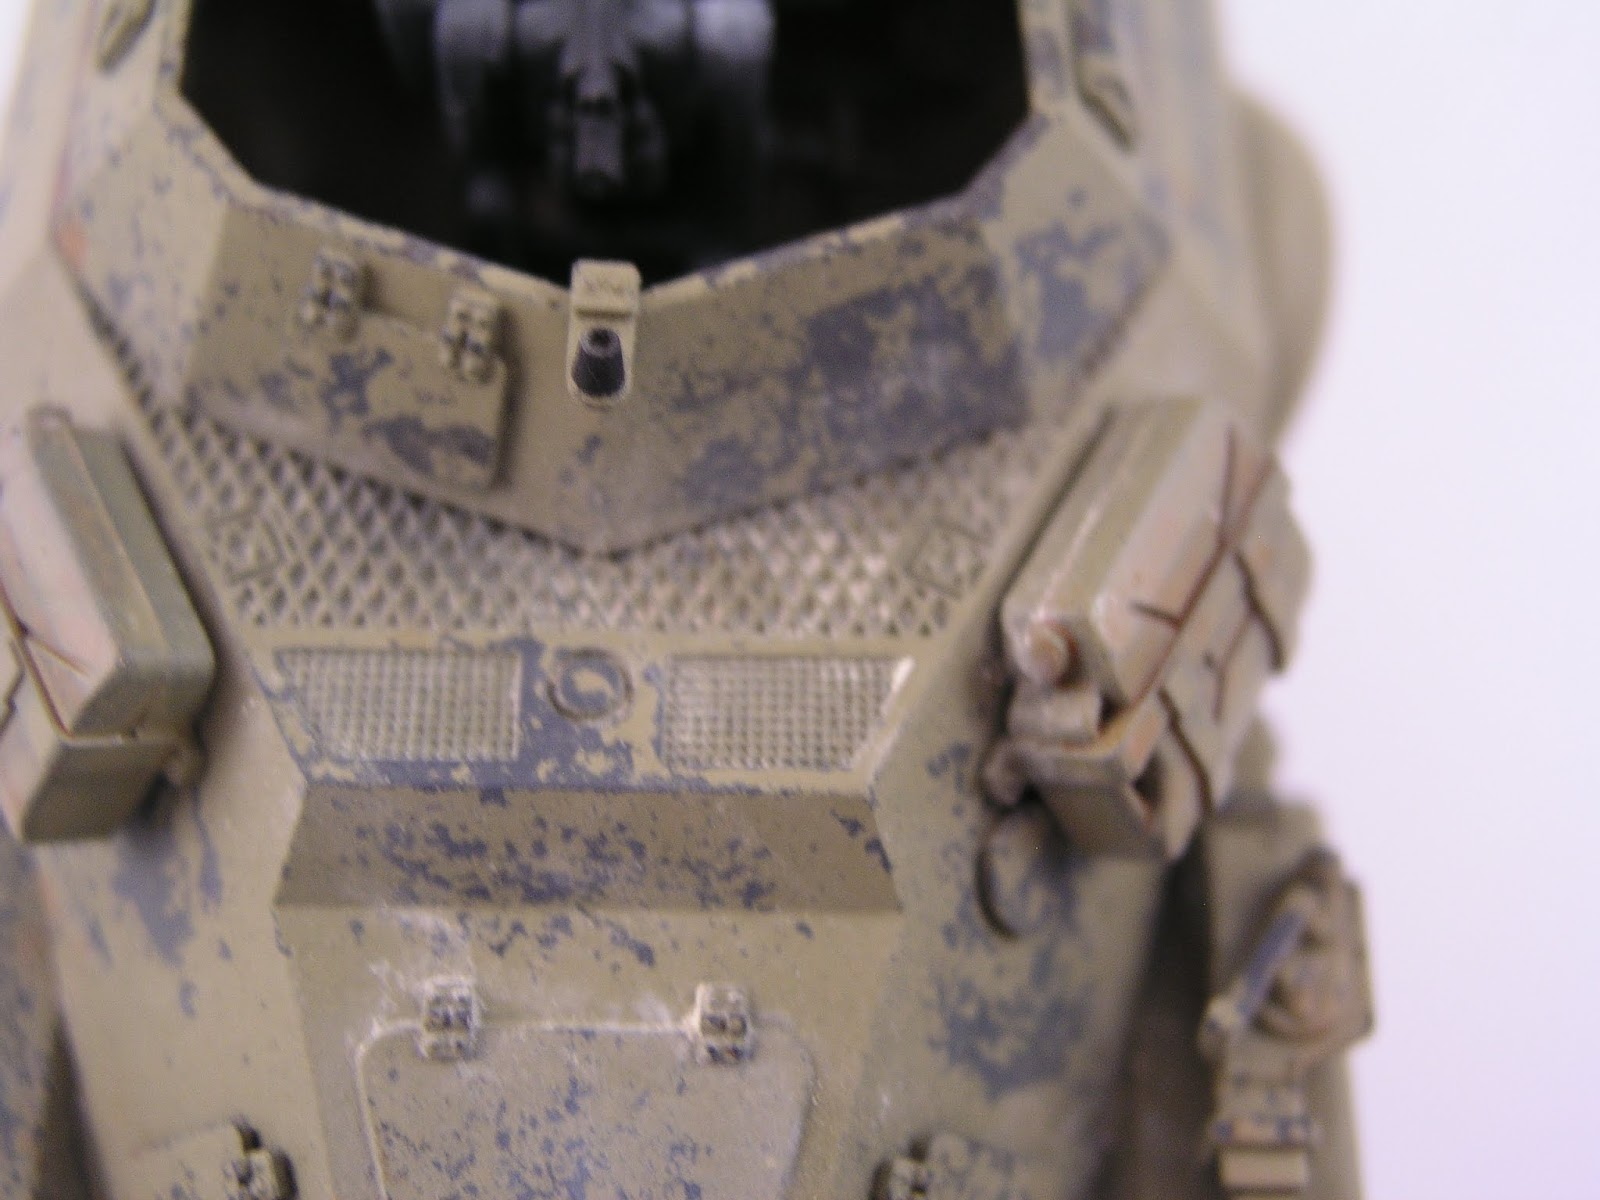
This kit was, on the whole, a pleasure to build, and the metal gun-barrel was also greatly appreciated. As I have come to expect of Tamiya, the fit of all the parts was superb. However, this being a rather old kit, detail was slightly lacking, though not enough to be really noticed.

This kit was also a chance to try out some new techniques, as well as work on desert painting and weathering in preparation for a future project. I'll start with the paint scheme.

The 222 happened to be only my second major kit to be painted by airbrush, having been a brush-painter before this. The kit was initially painted with a rust-coat (a mixture of Vallejo flat black and Mission Models Rust). This was then covered with a clear-coat (Model Master Acryl Gloss Coat) due to previous experiences of the rust coat coming off along with the paint on top of it. (Some of the best modelers I have seen are able to chip without any protective coats between layers, but I have yet to discover their secrets. . .). Ammo Mig Heavy Chipping Fluid was sprayed on next. Following this, Model Master Panzer Schwarzgrau was applied to represent the standard grey paint scheme that the early Wehrmacht vehicles wore on their duties before and for a short time after being sent to North Africa. Paint was scarce, and Italian colors occasionally had to be used due to a lack of German-supplied colors.
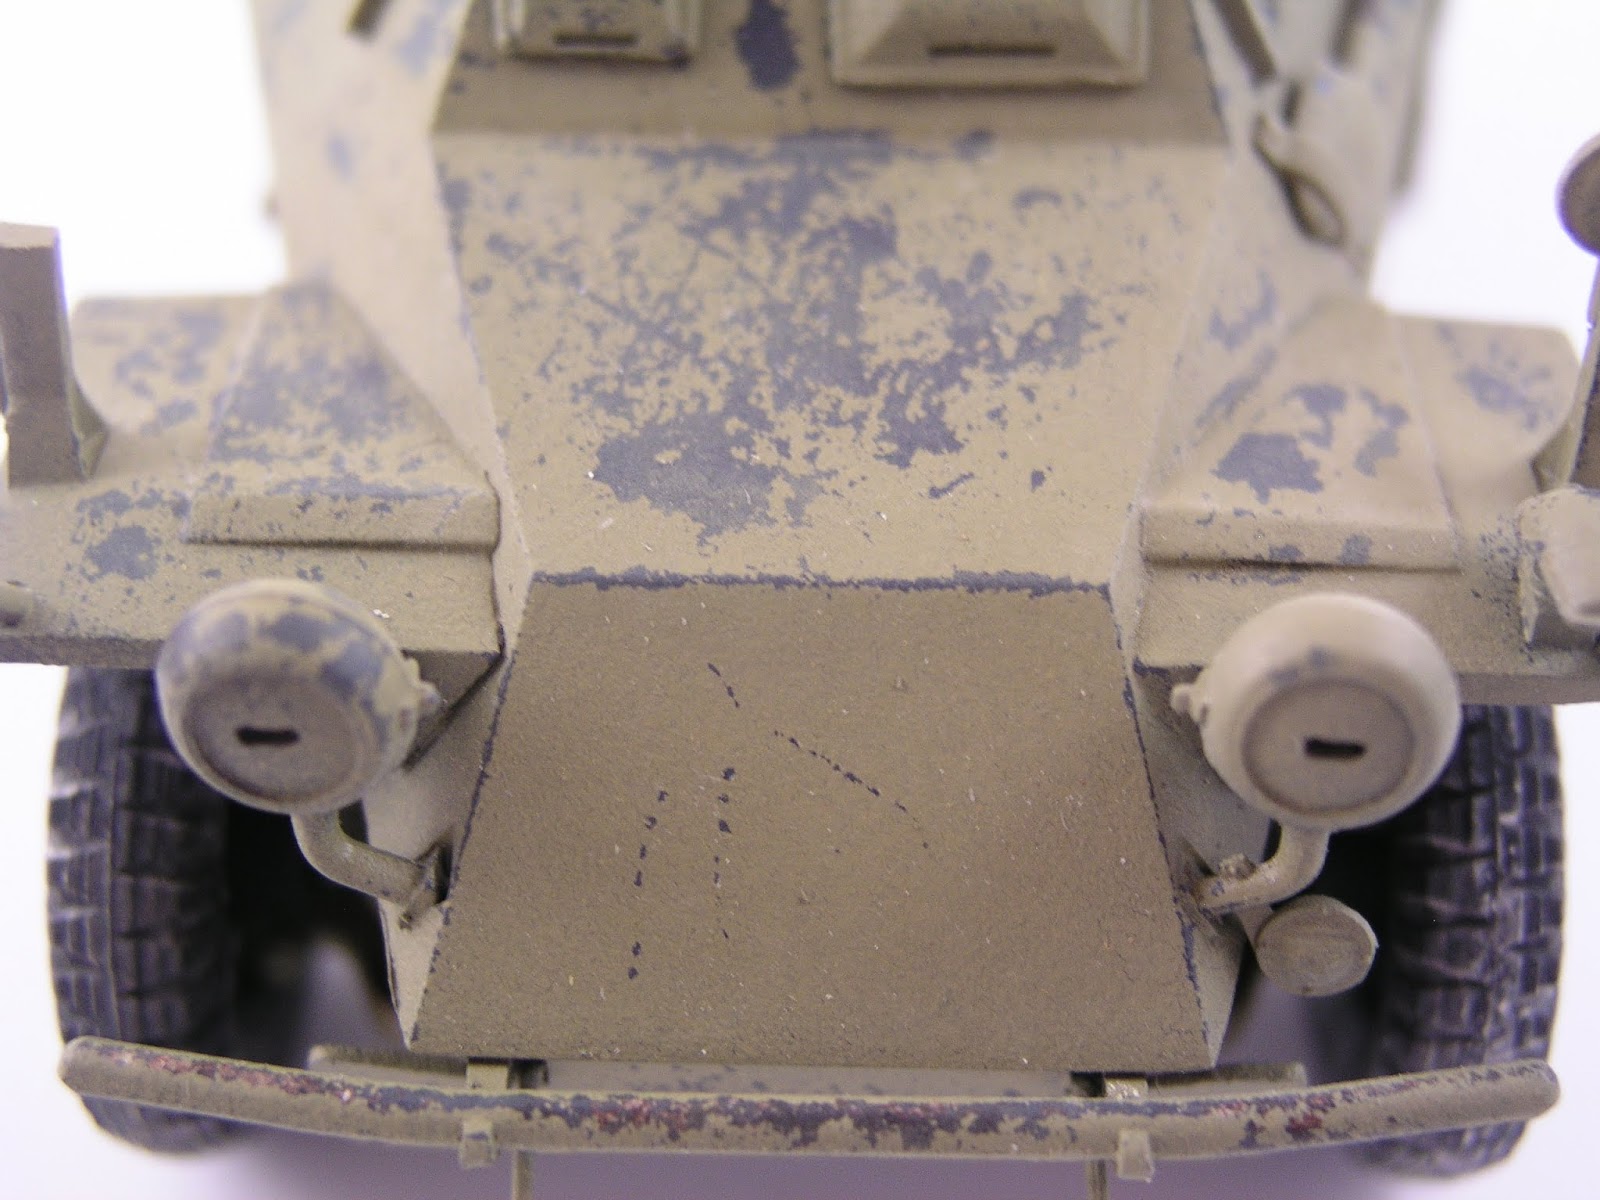
In keeping with the theme of paint-confusion (and not wanting to spend more money on paint than absolutely necessary) I decided to skip the two-tone paint scheme common on most Wehrmacht vehicles in North Africa by early 1942. Instead, I went with only applying the base color, RAL 8000, and left off applying the appropriate 1/3 covering of RAL 7008 (I hand-mixed this color and cannot remember the exact formula). This was chipped heavily. The inside was also given a rust coat and then a coat of something similar to Elfenbein, followed by heavy chipping.
Here's my excuse, which also is the story of this vehicle: having returned from a long excursion scouting for the pesky SAS, this 222 base was ordered out again to participate in an attack. The crew, hoping for some rest after their long ride, were quite annoyed because they had to repaint their vehicle, having had to pass through a sandstorm which stripped the paint off of nearly the entire vehicle, and to make matters worse, there was only RAL 8000 in the depot (Typical Wehrmacht supply. . .). I have chosen to represent this 222 when it has been in combat for a few days since its hasty reassignment and repainting, hence the excessive wear of the new paint. Anyways, that's what I told myself so I wouldn't have to keep painting...


The cannon was also painted in the rust coat, then matt black, with its mount being Schwarzgrau. The sight was painted yellow and the elevation and traverse wheels were also painted black. The barrel and cannon also had a small amount of grey sponged on to represent wear. The seats were painted with Vallejo Leather Brown.

Weathering! This is my favorite part of the process, and in this case it allowed me to practice with another newly acquired medium. . . oils. In this case, I used the oils only for the exhaust pipes, which I had painted flat white prior to application of the rust colors. The oils themselves were made by Windsor and Newton, and are quite nice to work with despite their rather annoying habit of getting on your clothes, arms, hands, face, bench, and everywhere else you don't want them. I started by squeezing a little dark brown and some burnt umber onto a piece of cardboard to drain the linseed oil, then applied the burnt umber undiluted onto the exhaust pipes and manifold. This was later followed with the dark brown, covering a much smaller area to show splotches of increased rust.

The wheels gave me an excuse to use another new technique: powders. I started small, using only Ammo Mig Sand pigment for, well, sand. This was used by brushing it into the crevices, overhangs, panel lines, air-intakes, and tire treads of the 222, being fixed in place with white-spirit. The floor of the vehicle also had sand build-up applied in the corners of the interior.

And yes, this is not the right order to do this, but the decals were applied last. Well, I say decals. . . . I hate the things and had a problem with one of the more important crosses breaking, so I only put the one on. I can chalk the lack of other markings up to the hasty repaint, though this does not explain why the only one that was applied was on the back. However, I can't be bothered to come up with a reason or add more, so there it is. Anyways, onto the gallery.


In part two: the base. Until then, keep the bench clean.


Comments
Post a Comment